
Managing root on Android is the process of granting or setting the highest permissions on the system using special tools such as Magisk to control which apps require full access.
You can easily root your Android to gain full access to its entire system. For some Android users, rooting can be a solution to maximize their device’s functionality.
In fact, rooting an Android phone offers many benefits, such as removing useless pre-installed apps or installing apps with greater freedom. This way, using your Android phone feels limitless.
While it provides additional capabilities and unlocks previously locked features, it’s important to remember that rooting also has risks and potential drawbacks.
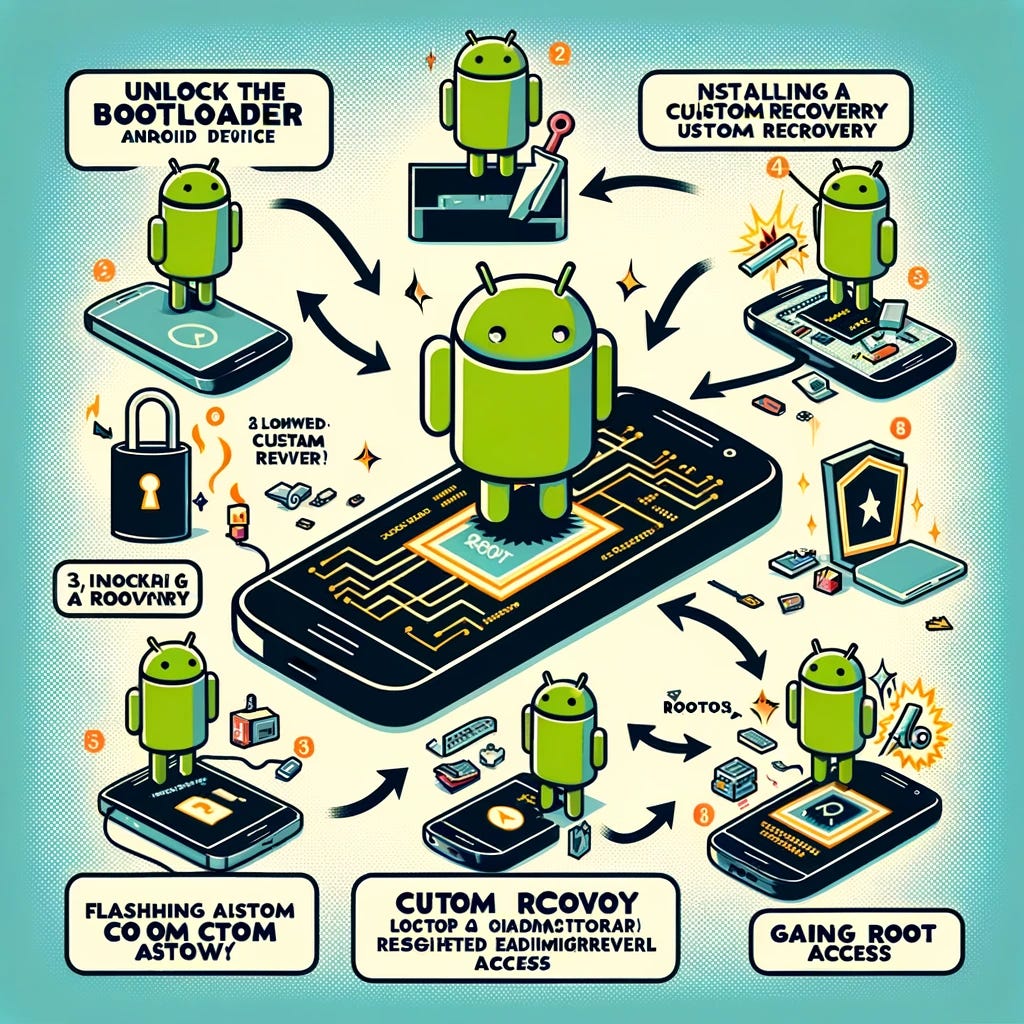
Therefore, you should consider carefully before deciding to root your phone. If you’re interested, here’s how to root your phone easily.
1. How to Root Your Phone via PC
Rooting an Android phone using a PC has a higher success rate than using a rooting app pre-installed on your device.
To use this method, follow these steps:
Download the appropriate rooting app.
Connect your phone to your PC using a data cable.
Open the rooting app on your PC and wait a few moments.
Click the green/OK button on your PC.
Wait for a green checkmark to appear.
Your Android phone will restart automatically.
The rooting process is complete.
When rooting your Android phone using a PC, be sure to use a working USB cable and ensure your phone’s battery is fully charged to reduce the risk of failure during the process.
2. How to Root Your Phone via the KingRoot App
This app cannot be downloaded from the Google Play Store, but you can download it directly from the official website. It is available for free and has a file size of no more than 20MB.
Here are the steps to root an Android phone without a PC using KingRoot:
Download and install the KingRoot app.
Open the app and tap the “Try Root” option to begin the rooting process.
Ensure your internet connection is stable.
A notification will appear stating that your Android phone has been successfully rooted.
Return to the KingRoot app on your phone.
Tap the menu located in the top left corner.
A “Root successfully” message will appear, indicating that the rooting process is complete.
3. How to Root Your Phone via the FramaRoot App
FramaRoot is a popular app for rooting Android devices and is widely known among Android users.
This app has been around for quite some time and has a simple user interface. Here are the steps to root an Android phone without a PC using FramaRoot:
Download and install the FramaRoot app.
Open the app and select the “Install SuperSU” option.
Under the “exploit” section, select the “Gandalf” option.
Wait for the rooting process to complete and a success notification to appear.
Next, restart your phone, and the rooting process will be complete.
4. How to Root Your Phone via the 360 ROOT App
360 ROOT is a small application that allows you to easily root your Android phone or tablet. This application claims to support over 9,000 different types of Android devices.
Here are the steps to root your Android phone without a PC using the 360 ROOT app:
Download and install the 360 ROOT app.
Open the app and press the button on the home page.
Click the “ROOT” option and wait a few minutes for the process to complete.
A notification will appear saying “Trying to access location,” select “Deny.”
Next, restart your phone, and the rooting process will be complete.
5. How to Root Your Phone via the iRoot App
iRoot is an application that has been improved and developed from its previous version, known as vRoot.
With support for a wider range of Android phones, iRoot has become a highly reliable application for rooting and unrooting Android devices.
Here are the steps to root an Android phone without a PC using the iRoot app:
Download and install the iRoot app.
Open the app and click the “Root Now” button.
A “No Root Permission” message will appear on the screen. Then, click the “Get Root Access” or “Root” option (depending on the version of iRoot you’re using).
Wait for the rooting process to complete.
When the “Root Successful!” notification appears, the rooting process is successful.